Search This Blog

Saturday 13 April 2013

Cherished Memories Card Set

Well, I was all set to upload these pictures this morning, then disaster struck. We had water pouring from upstairs, and the entire floor was soaked. The mess is mostly cleaned up (for now), and I have the ever so pleasant (not) drone of high-powered fans as background music.

Pre-disaster I was hard at work designing some beautiful eye candy. I designed the cut images from this set of cards with my Studio software based on images from the paper I used to create the Cherished Memories box a while ago. It took a while to design the images, but I am happy with the results. And I now have these beautiful files on hand for future use.

Products used: Card-stock in assorted colours from Michaels. Perfect Pearls Mists (forever red), Distress Stain (vintage photo and antiqued bronze), Cuttlebug's Paisley and Swiss Dots embossing folders, and Color Box Fluid Chalk Inkpad (charcoal).

Cherish

Sweet Nothings

Love Birds

Fond Memories

Memorable

Love

Well-worn

Cherished Memories Box

Notice how all of the images on the cards coordinate with the printed paper. Now, I know I said this box would easily fit 12 cards and envelopes, but apparently it appears to fit eight comfortably.

Sunday 7 April 2013

Diffusers in Detail

Just for you, Judith... Here they are in more detail! The following examples show just a tiny sample of the possibilities with homemade diffusers. You could use your Cameo to cut any shape out of the chipboard in order to create custom diffusing folders (e.g. heart(s), star(s), polka dots etc.).

Small Oval - Full Folder

Small Oval - Cutout can be placed anywhere on page


Large Oval - Full Folder


Large Oval - Cutout can be placed anywhere on page


Rectangle - Full Folder


Rectangle - Cutout can be placed anywhere on page


Half Page - Could emboss top or bottom

I used Cuttlebug's Paper Lace 2 folder to emboss these samples. I sponged the surface with Ranger's Distress Ink in iced spruce (Tim Holtz) in order to make the embossed surface stand out. 


Cherished Memories Card Box


Last night I played with some beautiful paper from the Love Letters (Recollections signature - from Michaels) paper pack. I created a beautiful card box that I now need to fill with cards. I purchased the original pattern for the box from Silhouette's online store, but I found the box size awkward. Titled "String tie bracket flap belly band box", it was created by Lori Whitlock as a single file to be cut from one sheet of paper. I found this size too small to do anything with, so I edited the design and came up with a pattern of my own that will easily fit 4.25" x 5.5" cards and envelopes.

Pattern for Card Box (fits 4.25" x 5.5" cards)

When cut to the specifications indicated on the diagram, this box will perfectly fit a set of 12 cards and envelopes. I used patterned paper to create this box, but I had to be careful of paper placement so that I did not wind up with an upside-down image on the front bracketed flap. Next time  I think I will add digital images to this file to create my own print and cut file.

The small rectangle to the right is a separate cutting file for the box front. It is exactly the same size as the box back, and enables you to have better control over the pattern direction.

Careful placement of patterned paper to avoid upside-down images

I applied circular Velcro closure stickers to the inside flap of the bracket and front of the box. In order to easily line up your placement, stick Velcro circles to each other before applying the sticker to your box. Place on desired area inside flap of box, then simply close the flap to stick the other Velcro sticker to the box. Viola! Perfect placement.


Cherished Memories Card Set Gift Box


Saturday 6 April 2013

Glitter, Grunge & So Much More

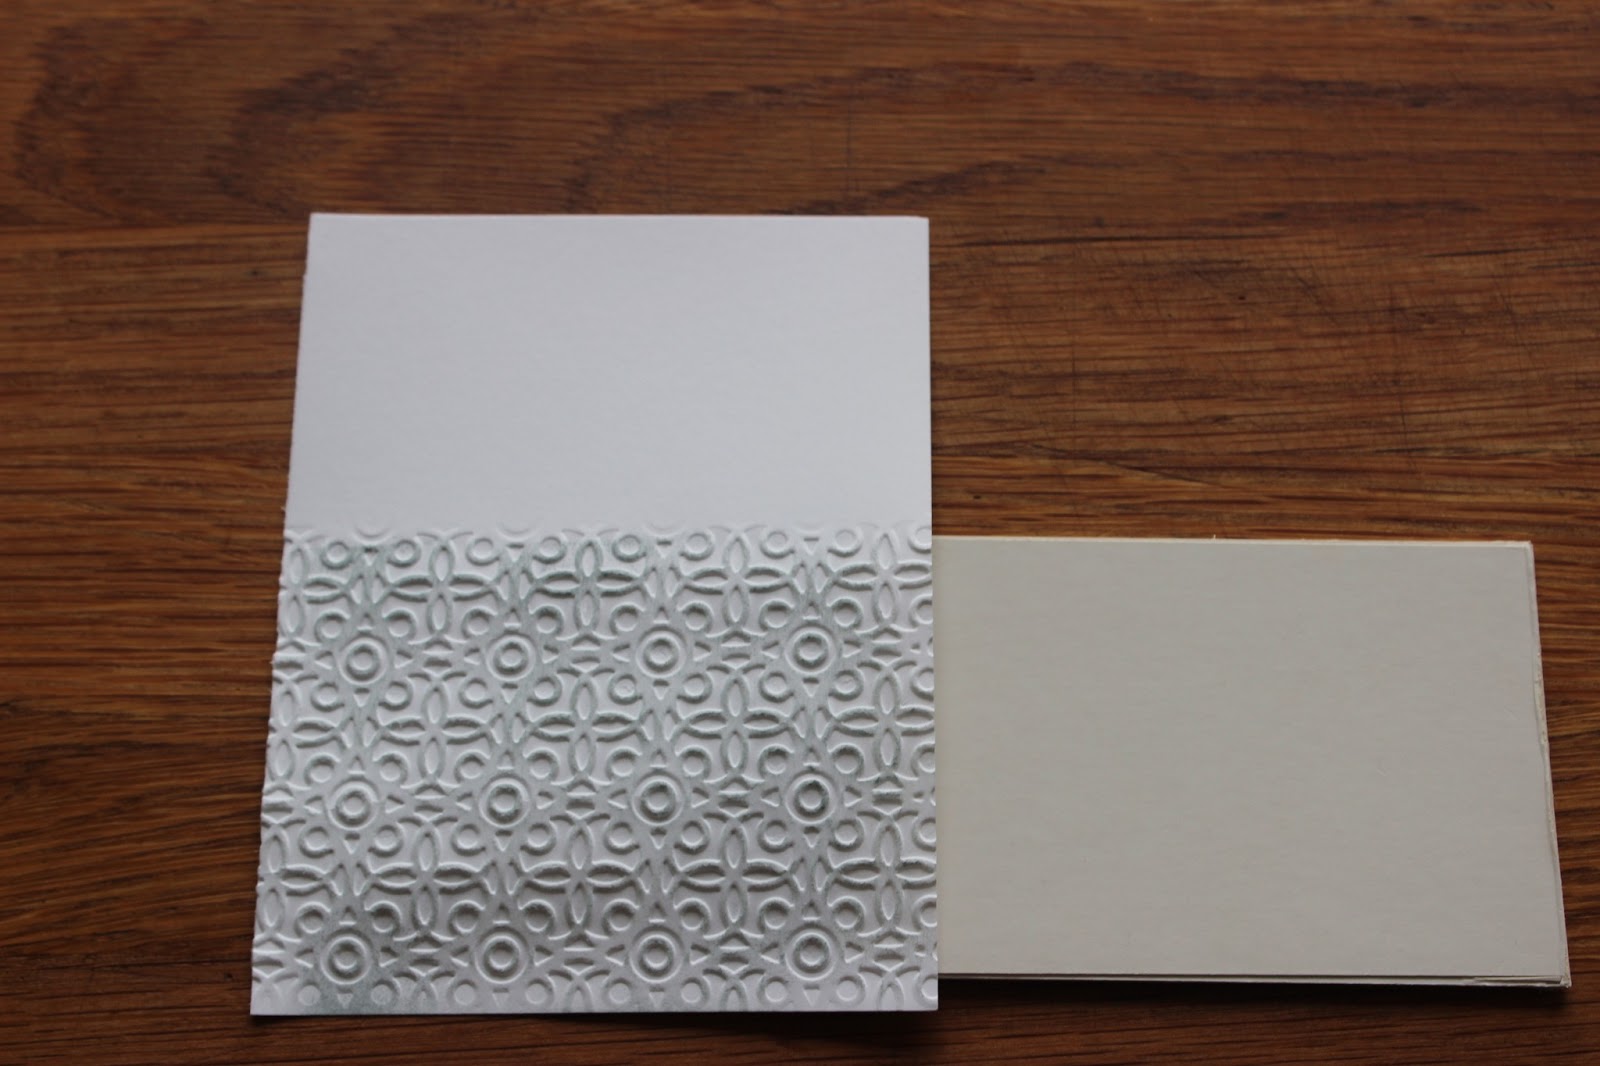
Rosette pattern from Silhouette online store

Confession... I spent the better part of today designing one card. In the end it turned out beautifully! I am loving all the glimmery mists and distress stains I have.

I began by carefully choosing several different digital images and combining them to form a collage. I printed and cut the tags on brown cardstock via the print-and-cut function on Silhouette's Studio software. After the images were cut, I sprayed the cardstock with a gold-toned fine mist (Perfect Pearls - don't know the name of the colour; it came in a two-pack from Michaels). When dry, I applied a reinforcer and darkened the edges of the tag.


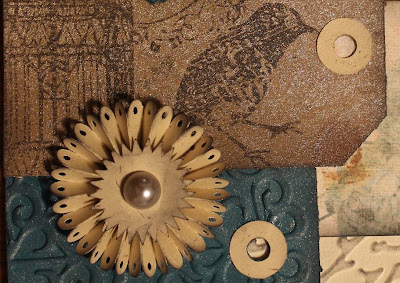
Notice the discreet glimmer - beautiful!
After I embossed the dark teal paper with my Cuttlebug, I sprayed the tag with a silvery mist (my other Perfect Pearls - again, I cannot find the colour on the bottle). When the tag was dry I applied a reinforcer and dirtied the edges and raised surfaces.

The paper for the two patterned tags came from a K&Company paper pack from Michaels. I simply cut both tags (using my Cameo), applied reinforcers, and dirtied the edges. Blackened look throughout card comes from Color Box's charcoal fluid chalk inkpad.

After embossing my card front, I  carefully placed all items on card surface (music note design also comes from the Silhouette online store).

Here is the fruit of my labour.