Search This Blog

Saturday 1 June 2013

Just For Fun

Pattern by Lori Whitlock (penny slider card)
Paper by Recollections (Everyday Moments)
My first project with this cutting file by Lori Whitlock is pretty cool. Two pennies are adhered to each other with a piece of circular two-sided foam tape. The pennies are inserted into the cutout on the rectangular piece of paper so that the circular foam rests on the edge of the paper with a penny on each side.

I purchased this pattern from the Silhouette online store. Lori Whitlock provides the paper backing shape (navy), the rectangular shape with cutout, and the circle in the card file.

As you tilt the card from side to side,
the pennies roll along the edge of the paper and the circle spins.

Shimmer Flowers

Cutting file "12 posies" by Kolette Hall via Silhouette's online  store
Last weekend I created a card set to accompany one of the boxes I made. I had used Recollections' "Everyday Moments" paper pack (from Michaels) for the box, so I used paper from the same pack along with basic white card stock from Staples for the cards. 
I created the embellishments using a cut file I purchased from Silhouette's online store. The file is called "12 posies", and it was created by Kolette Hall.

 
Embossing done with Cuttlebug's Paper Lace 2 folder
What I really wanted to use to add texture to this card was a damask pattern, but it turns out I do not have such a folder! In the end, I wound up using  Cuttlebug's Paper Lace 2 embossing folder. 

The shimmer is not easy to capture with a camera, but I think you can see it on the photo at the bottom of the page. I used Ranger's Perfect   Pearls mist in Pearl to give this set a shimmery effect.

Shimmer - Ranger's Perfect Pearls Mist (Pearl)

Sunday 26 May 2013

3D

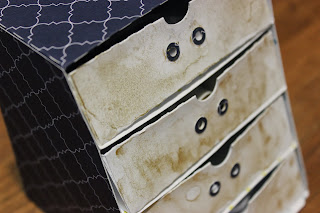
I have had a bit of a crafting drought, so this weekend I just couldn't stop. The four-drawer box seen below is a design that was created by Snapdragon Snippets for Silhouette. I purchased the design from the Silhouette online store, but I didn't like the end result completely. The design comes with four drawers and a frame. The frame is cut from four separate pieces which are glued together to create the frame. It looked messy to me that way, so I used my Studio design program to create a pattern for an outer shell. I cut the pattern out with my Cameo and glued it on to the outside of the frame.

Snapdragon Snippets design with my added outer shell

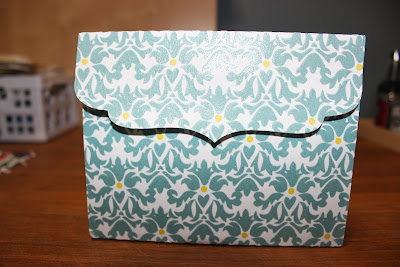
The paper I used comes from Recollections 'Everyday Moments' paper pad (Michaels). I distressed the fronts of the drawers with Perfect Pearls Mists (Sunflower Sparkle) to add a a bit of interest. You can't see it in the photo, but there is also an adorable yellow polka-dot pattern on the inside.

Perfect Pearls Sunflower Sparkle - so pretty!


This little box is the perfect size to house my Color Box Chalk inkpads, Sketch pens (for my Cameo), and Perfect Pearls powders (Ranger).

My second project was much simpler to create, and I have already made several. The original pattern is a Lori Whitlock design which I purchased from the Silhouette online store. The box was too small for anything useful, so I had redesigned the pattern to fit an A2 card. I found that design to be a little too bulky. I had to cut the pattern using two 12x12 sheets, and in the end the box held just a few too many cards.

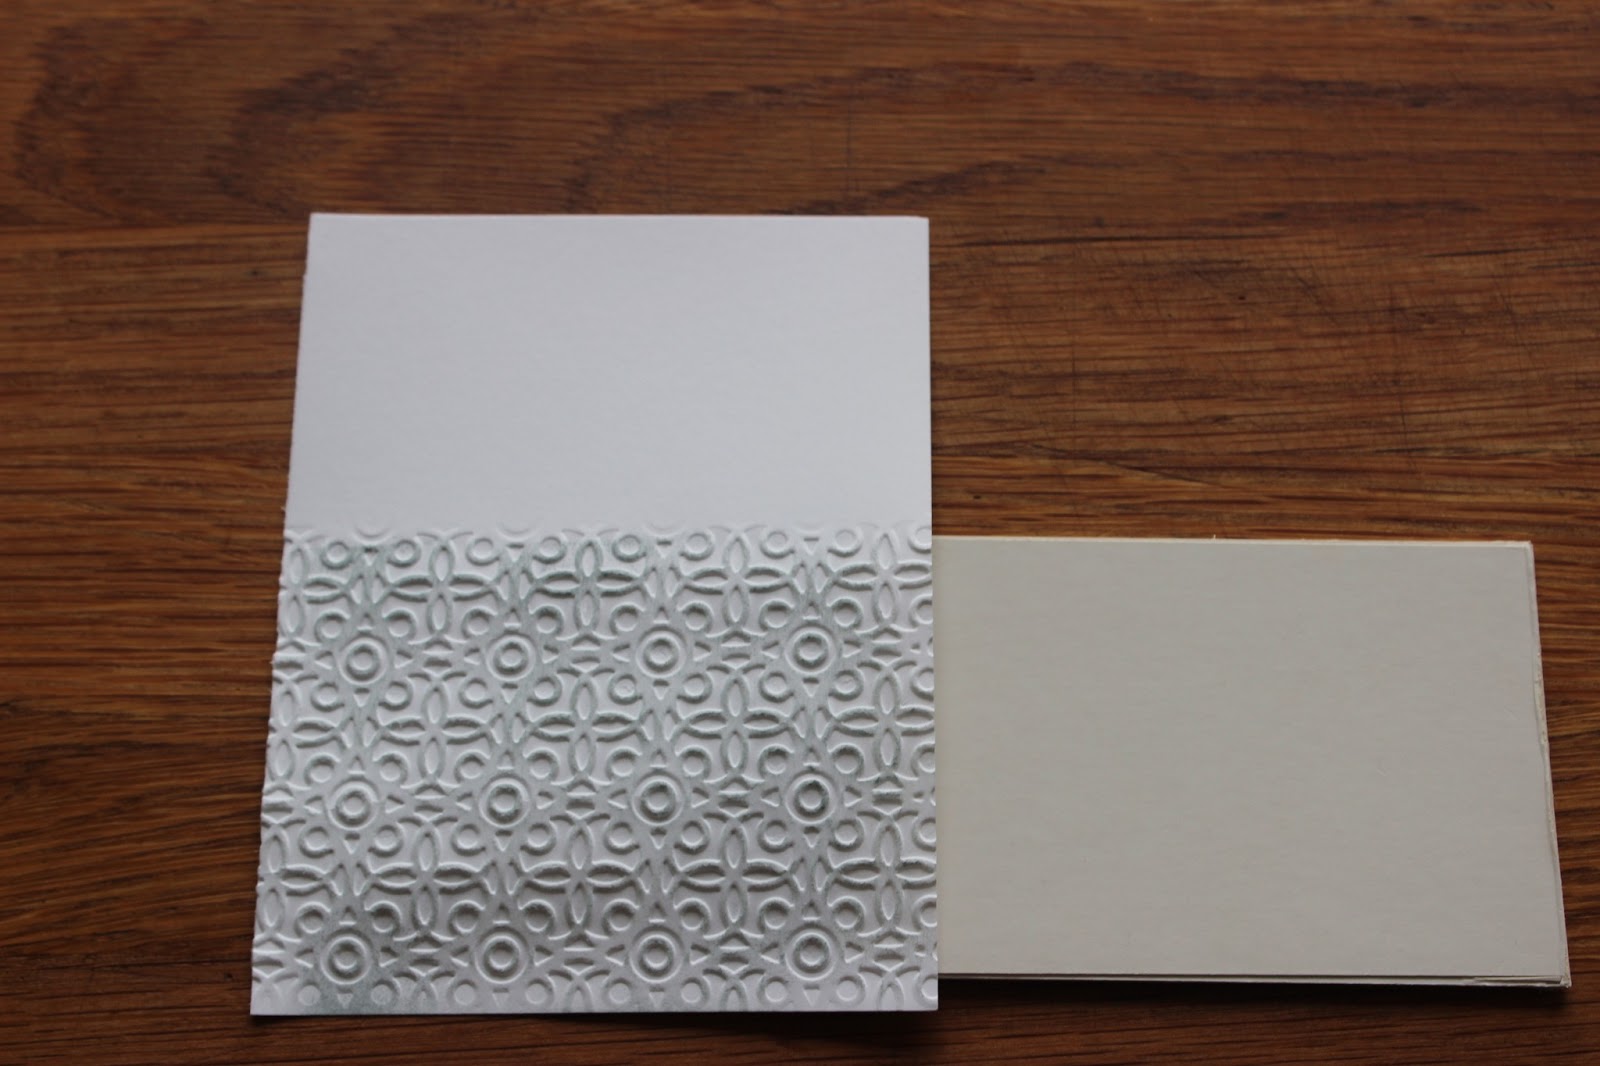
Last week I redesigned the pattern once again so it can now be cut from one 12x12 sheet. Here is my end result:

Clean and simple - Uses only one 12x12 sheet

Saturday 25 May 2013

I'm Back!

Sketched Flowers - 2
Sketched Flowers - 1

It has been quite a while since I was last here. In the past month my family and I had all our possessions packed (due to the flood), and we moved to a new place. I am almost finished unpacking and organizing us into our new space. I have to say that while unable to make cards I was definitely having creative withdrawal!

Sketched Flowers - 3

As soon as my office was unpacked I set to work designing this new set. My Sketched Flowers set is not only my first set in my new space, but it is also my first attempt at using a sketch pen with the Cameo. I have to say, I am quite in love with the sketch function! Watch for more creations using sketch.

Sketched Flowers - 4
Sketched Flowers - 5


Sketched Flowers - 6


Sketched Flowers - 7


Sketched Flowers - 8


Saturday 13 April 2013

Cherished Memories Card Set

Well, I was all set to upload these pictures this morning, then disaster struck. We had water pouring from upstairs, and the entire floor was soaked. The mess is mostly cleaned up (for now), and I have the ever so pleasant (not) drone of high-powered fans as background music.

Pre-disaster I was hard at work designing some beautiful eye candy. I designed the cut images from this set of cards with my Studio software based on images from the paper I used to create the Cherished Memories box a while ago. It took a while to design the images, but I am happy with the results. And I now have these beautiful files on hand for future use.

Products used: Card-stock in assorted colours from Michaels. Perfect Pearls Mists (forever red), Distress Stain (vintage photo and antiqued bronze), Cuttlebug's Paisley and Swiss Dots embossing folders, and Color Box Fluid Chalk Inkpad (charcoal).

Cherish

Sweet Nothings

Love Birds

Fond Memories

Memorable

Love

Well-worn

Cherished Memories Box

Notice how all of the images on the cards coordinate with the printed paper. Now, I know I said this box would easily fit 12 cards and envelopes, but apparently it appears to fit eight comfortably.

Sunday 7 April 2013

Diffusers in Detail

Just for you, Judith... Here they are in more detail! The following examples show just a tiny sample of the possibilities with homemade diffusers. You could use your Cameo to cut any shape out of the chipboard in order to create custom diffusing folders (e.g. heart(s), star(s), polka dots etc.).

Small Oval - Full Folder

Small Oval - Cutout can be placed anywhere on page


Large Oval - Full Folder


Large Oval - Cutout can be placed anywhere on page


Rectangle - Full Folder


Rectangle - Cutout can be placed anywhere on page


Half Page - Could emboss top or bottom

I used Cuttlebug's Paper Lace 2 folder to emboss these samples. I sponged the surface with Ranger's Distress Ink in iced spruce (Tim Holtz) in order to make the embossed surface stand out. 


Cherished Memories Card Box


Last night I played with some beautiful paper from the Love Letters (Recollections signature - from Michaels) paper pack. I created a beautiful card box that I now need to fill with cards. I purchased the original pattern for the box from Silhouette's online store, but I found the box size awkward. Titled "String tie bracket flap belly band box", it was created by Lori Whitlock as a single file to be cut from one sheet of paper. I found this size too small to do anything with, so I edited the design and came up with a pattern of my own that will easily fit 4.25" x 5.5" cards and envelopes.

Pattern for Card Box (fits 4.25" x 5.5" cards)

When cut to the specifications indicated on the diagram, this box will perfectly fit a set of 12 cards and envelopes. I used patterned paper to create this box, but I had to be careful of paper placement so that I did not wind up with an upside-down image on the front bracketed flap. Next time  I think I will add digital images to this file to create my own print and cut file.

The small rectangle to the right is a separate cutting file for the box front. It is exactly the same size as the box back, and enables you to have better control over the pattern direction.

Careful placement of patterned paper to avoid upside-down images

I applied circular Velcro closure stickers to the inside flap of the bracket and front of the box. In order to easily line up your placement, stick Velcro circles to each other before applying the sticker to your box. Place on desired area inside flap of box, then simply close the flap to stick the other Velcro sticker to the box. Viola! Perfect placement.


Cherished Memories Card Set Gift Box